How to install Lets encrypt certificate on Cpanel (Namecheap Stellar Shared Hosting) when the main domain is hosted elsewhere?
For the last year or so, I have been using Namecheap Shared Hosting as a test bed, mostly to have a redundancy in case my VPS goes woosh, and secondly because I suffer huge problem with email delivery from my VPS, so for the last year I also used Zoho Mail to manage my handful of clients’s emails.
Zoho is great for emails, less so for simplicity; it is an overly complicated system to navigate. Trying to change the main user admin emails is a nightmare and my wife was less than impressed when she was getting emails from zoho about the admin account, she was the first user on the zoho mail service and I never ever managed to be able to change the config to reflect this.
Anyway, I ramble on.
Namecheap Shared Hosting
Due to the fact that over the last few years I have had less and less websites to manage and more and more email problems to deal with, I decided to give them a shot as I already use them to managed my Domains.
The Stellar package offers “unlimited” space (but it comes with a caveat). for a reasonnable cost and hosted in the EU so why not.
It was my first dab at using Cpanel and I can’t say I hate it. As you may know I am a Virtualmin user on my VPS.
In 2024 I used it mainly for testing and emails management only. Which was fine.
SSL certificates
Namecheap have a sneaky way to add value to their offering by throwing in a “free” SSL certificate for each domain you host on their servers, bit only for the first 12 months, after that, it’s no longer free.
As a user of Lets Encrypt on the VPS which Virtualmin pretty much automates, I was not going to renew their certificates at any costs?!
So I searched for ways of using Lets Encrypt for this and apparently it is possible with command line
My challenge
Issuing such certificate and activating it on the Cpanel is quite straight forward.
As you know I don’t favor link rot much so I have re-written the steps to remind me.
The main problem with the step by step from this post is good for a whole site, but what if you don’t have all the services on the same server?
The operation is a bit more complex.
So here goes:
To obtain a certificate for a sub domain only, the commands are the same:
acme.sh --issue --webroot /home/{folder}/serex.me -d mail.serex.me --staging
acme.sh --issue --webroot /home/{folder}/serex.me -d mail.serex.me --force
acme.sh --deploy --deploy-hook cpanel_uapi --domain mail.serex.me
Where “{folder}” is the document root of your website
But! My website is hosted on another server, and letsencrypt can do that, I simply have to issue a certificate for each servers, as it checks the location of a file to validate the domain, I cannot issue a certificate for a subdomain that is not present on the main server with poor email reputation.
Step one:
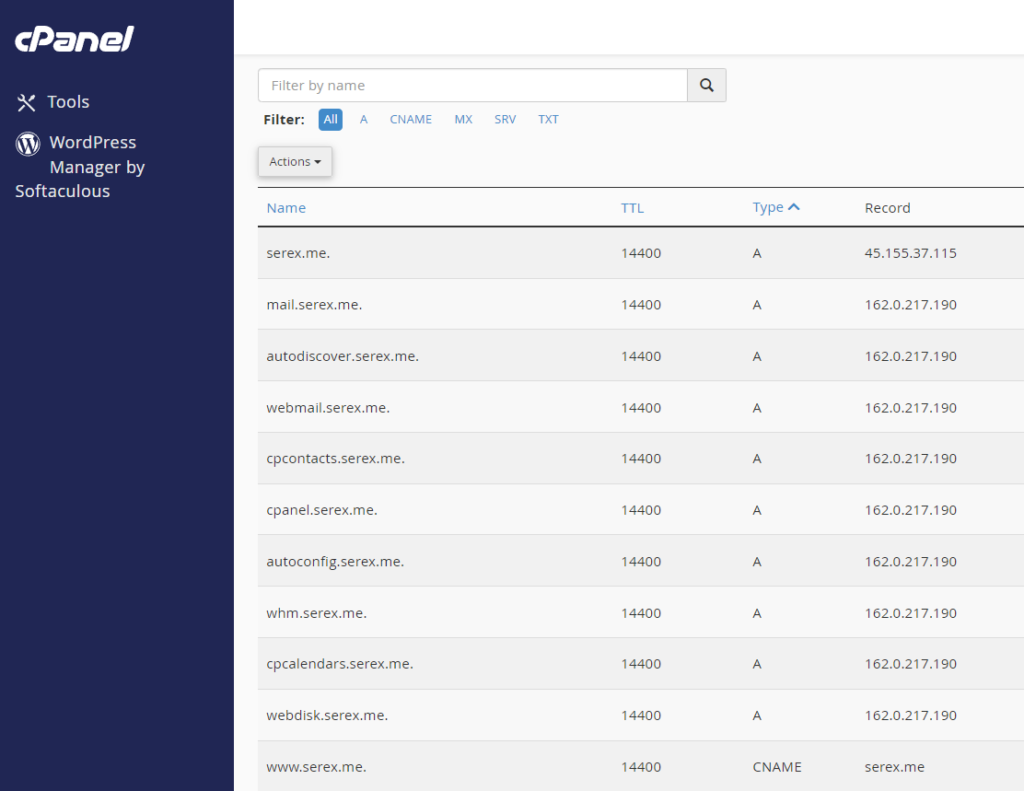
Namecheap DNS setup is very convenient when using the Shared hosting’s Cpanel Zone editor. All I need to do is tell the zone the IP of my website!

Step two:
Physically create a subdomain on the Cpanel, to allow the certificate to be installed ONLY for this sub domains (here it is mail.serex.me)
In Cpanel, go to the “Domains” section and click on Create A New Domain.
Enter the subdomain name (here “mail.serex.me”) and provide the document root to be the same as a TLD (e.g., “/home/{user}/serex.me”). where {user} is the Cpanel username, which also is the folder name where all the stuff is stored for your hosting.
Step three:

Once the certificate is issued and present on the Cpanel:
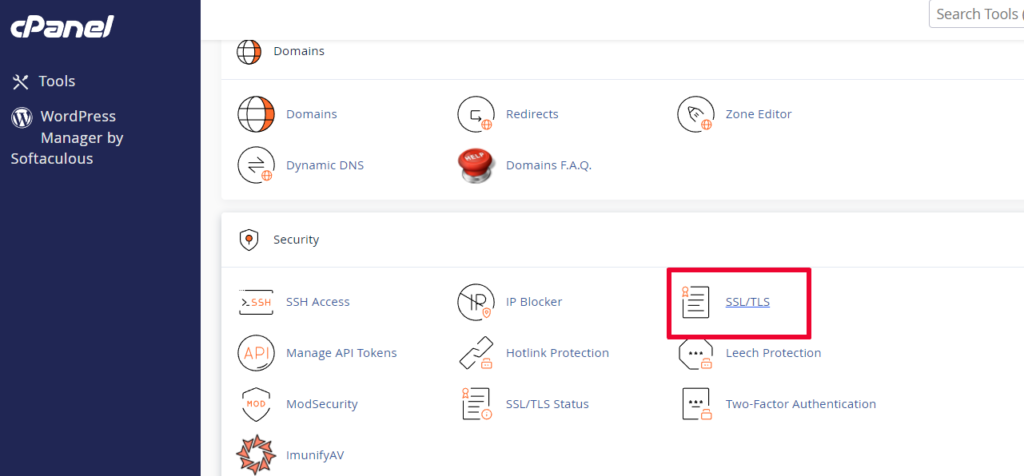
Click on “Tools” > “Security” > “SSL/TLS” > “Manage SSL Sites.”
Click on “Browse Certificates”
(if the certificate is not showing repeat the last acme.sh command above once again it seems that the certificate is not showing up unless the command “acme.sh –deploy” is given twice)
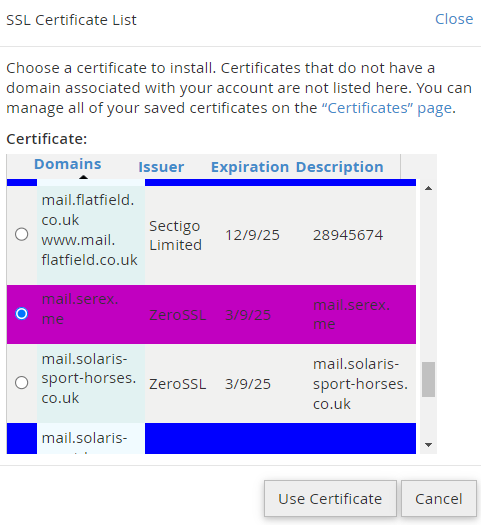
Select the sub domain certificate in the pop up

The domain field will be pre populated with the mail.serex.me domain already.
Click on “Install Certificate”
To verify that the certificate is correctly installed:
Click on the “certificate details” on the “Manage SSL Sites” page. if the certificate is not issued by “Zero SSl”, but rather by Namecheap default “Sectigo” you get for free for a year:
Tools > SSL/TLS > Generate, view, upload, or delete SSL certificates.

Scroll to identify the correct certifcate for your site and click “install”. Verify the Form is correctly allocated with the right domain etc, and click “Install Certificate”.
This will install and replace the Namecheap “default “free for a year only” Certificate with the Zero SSL (Lets Encrypt) one. No need to worry
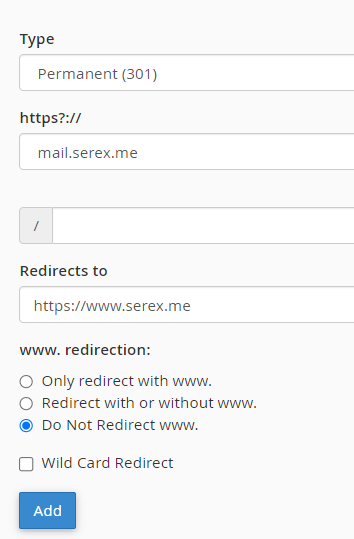
Also note that the mail.serex.me sub domain will show the content of the site root added when creating the domain, so a redirect may be necessary unless you don’t mind having a folder listing.

All good and no errors when hooking up your mail client!